
There’s no shortage of things you can learn in knitting, regardless the years you have been crafting. Knitting decreases are a vast topic encompassing many techniques that have their unique use. A challenging technique, Purl Two Together through Back Loop (P2TOG TBL) features in advanced knitting patterns. This works where you need to work on a row or round of purl stitches. If you're looking to challenge yourself or add an interesting variation to your project, this technique is a must-have in your repertoire.
In this blog, we’ll walk you through everything you need to know about P2TOG TBL, from understanding its purpose to learning how to do it correctly. Now, if you have gone through our previous guide on knit two together through back loop (K2TOG TBL) it gets easier to go forward with the purl version.
So, let’s proceed.
What is P2TOG TBL?
The Purl Two Together through the Back Loop (P2TOG TBL) is a decreasing technique in knitting, which, as the name suggests, involves purling two stitches together while working through the back loops. It is a corresponding left-leaning decrease version of purl two together through stitch. The knitting decrease twists the stitches, adding a subtle but interesting texture. The twist caused by working through the back loop sets this decrease apart from other decreases, like a standard P2TOG (purl two together), which doesn’t have the same effect on the stitches.
A little advanced decrease technique, P2TOG TBL needs a lot of practice to master.
Select knitting needles – The decrease technique works with the same knitting needles that you use for your projects. Single-pointed needles or circulars for projects knit back and forth such as scarves, dishcloths or shawls. For projects knit in the round, work with double-pointed needles or circular needles and enjoy working on socks, sweaters, cowls or sleeves.
Gather accessories - Keeping knitting accessories as stitch markers, finishing needles, measuring tapes, a pair of scissors etc. for smooth crafting.
When to Use P2TOG TBL?
For any knitting pattern where you need to decrease stitches in a row or round of purl stitches, P2TOG TBL works beautifully. However, the technique is used mainly in patterns where a twisted purl stitch is desired. And, also where a decrease is needed that doesn’t disrupt the symmetry of other stitches in the pattern. Here are a few scenarios where this technique may come in handy:
Necklines: The decrease technique worked with your circular or double pointed needles creates beautifully shaped necklines that slopes gently toward the shoulders.
Armholes: Ensures a smooth transition from the body of the garment to the sleeve while picking up stitches to shape armholes. You can use interchangeable circular needles for seamless knitting on the go or work with DPNs to manage the few stitches effectively.
Raglan Sleeves: Raglans need neat decreases and P2TOG TBL is a master of neatness, creating clean lines and a comfortable fit.
Texture: The twisted effect created by this stitch can be used to add an eye-catching detail to your fabric, making it useful in decorative patterns.
Cables and Ribbing: In some cable patterns or twisted rib stitches, P2TOG TBL is used to keep the stitches aligned and create a seamless look.
Lacework: Knitting decreases in lace patterns are rather tricky as you are already working with decrease and increases to create the aesthetic holes characteristic to lace.
P2TOG TBL can be combined with other decreases and yarn overs to create intricate openwork designs.
How to Work P2TOG TBL?
Learning the P2TOG TBL technique requires focusing on two main aspects: the purling and the back loop. Here’s a step-by-step guide to help you master it.
Start with a cast on. If you are looking for practice, cast 30 stitches. But for a project, work according to the pattern instructions. Work according to the steps mentioned till the point where you need to work on the decrease.
Step 1: Insert Knitting Needle through the Back Loops
Hold your knitting needle and yarn as you normally would for purling. Now, instead of inserting your right needle into the two stitches as you would in a standard purl two together, you will need to go through the back loops of these two stitches. To do this, rotate your knitting slightly and insert your needle from right to left, into the back loops of both stitches.
The back loops are the part of the stitch that is furthest away from you. When you purl through the back loop, you are essentially twisting the stitches as they are worked, creating a distinct look in the fabric.
Step 2: Wrap Yarn Around Needle
Once your knitting needle is properly inserted into the back loops, wrap the working yarn around the tip of the right needle, as you would for a standard purl stitch.
Step 3: Pull Yarn Through Stitches
Now that the yarn is wrapped around the knitting needle, pull it through the two stitches. As you do this, you’ll notice the stitches twisting on the needle. This twist is the characteristic feature of the P2TOG TBL technique.
Step 4: Slip Stitches Off
Finally, slip both stitches off the left needle. You have now completed the P2TOG TBL and created a left-slanting twisted decrease.
Alternatives to P2TOG TBL
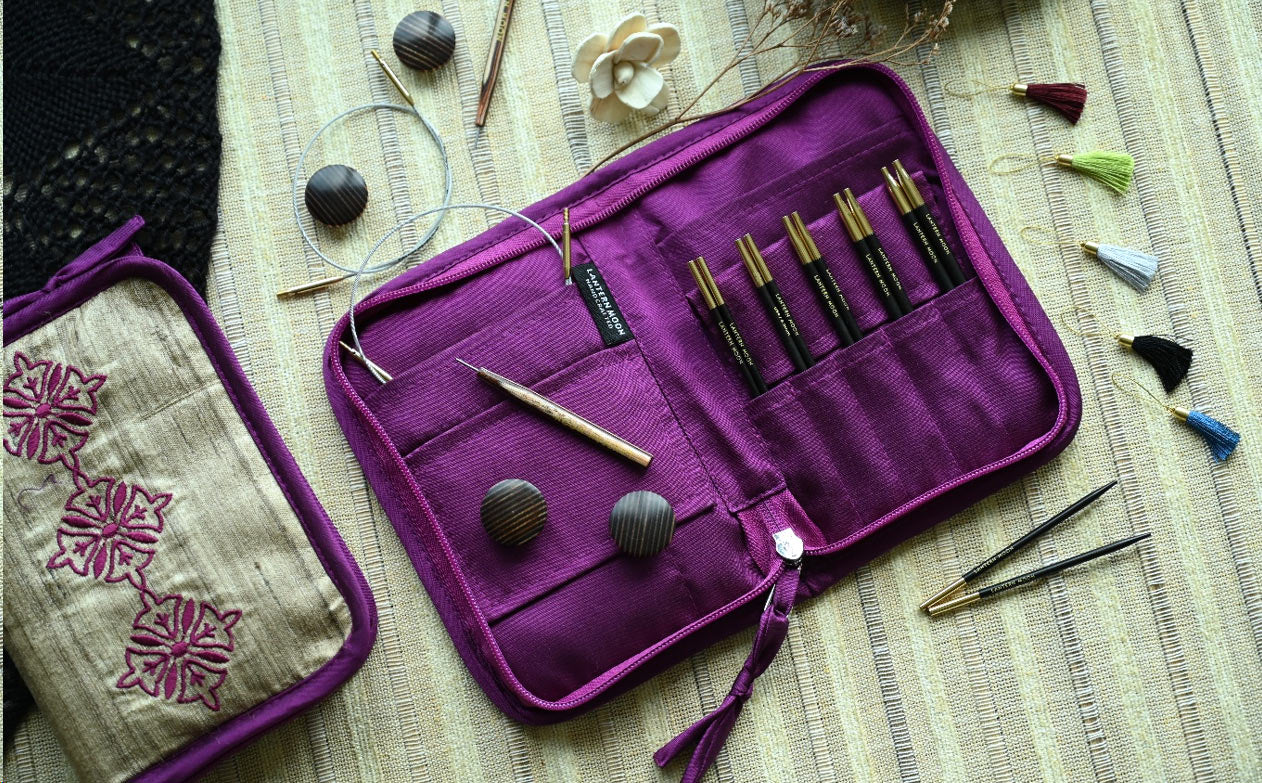
Alt Txt:Circular needles set Made up of ebony wood

If you find the P2TOG TBL technique challenging then it’s time to explore the alternatives.
P2TOG – It’s always a good choice to do what you do best. For a decrease in a row or round of purl stitches, this technique comes handy.
SSP – Slip Slip Purl is a handy knitting decrease. Take a look at our previous guide on how to slip slip purl.
Whether you’re looking to shape a project or simply add decorative elements, The Purl Two Together through Back Loop (P2TOG TBL) will open up a world of creative possibilities. With Lantern Moon Collection explore handcrafted knitting needles and accessories that assist with all your projects. The smooth ebony wood used in needles and hooks have a liquid silk-like finish Made by skilled artisans, the tools and accessories reflect craftsmanship