
Crocheting a handmade bunny egg is one of the popular crafts. This simple and unique project is perfect for Easter or spring decorations. These cute crochet pieces make an ideal gift or a table centerpiece. Whether you’re new or an experienced crocheter, this blog will instruct you step-by-step on how to create it with a crochet hook. Read our quick guide on knitting and crocheting your way into spring with delightful Easter decor.
What Materials Do You Need?
Before you start making this creative project, gather all the essential materials:
- Yarn: Smooth, lightweight cotton or worsted yarn is ideal for crocheting a bunny project. Pastel colors like white, blue, pink or any shade of your choice look elegant and attractive.
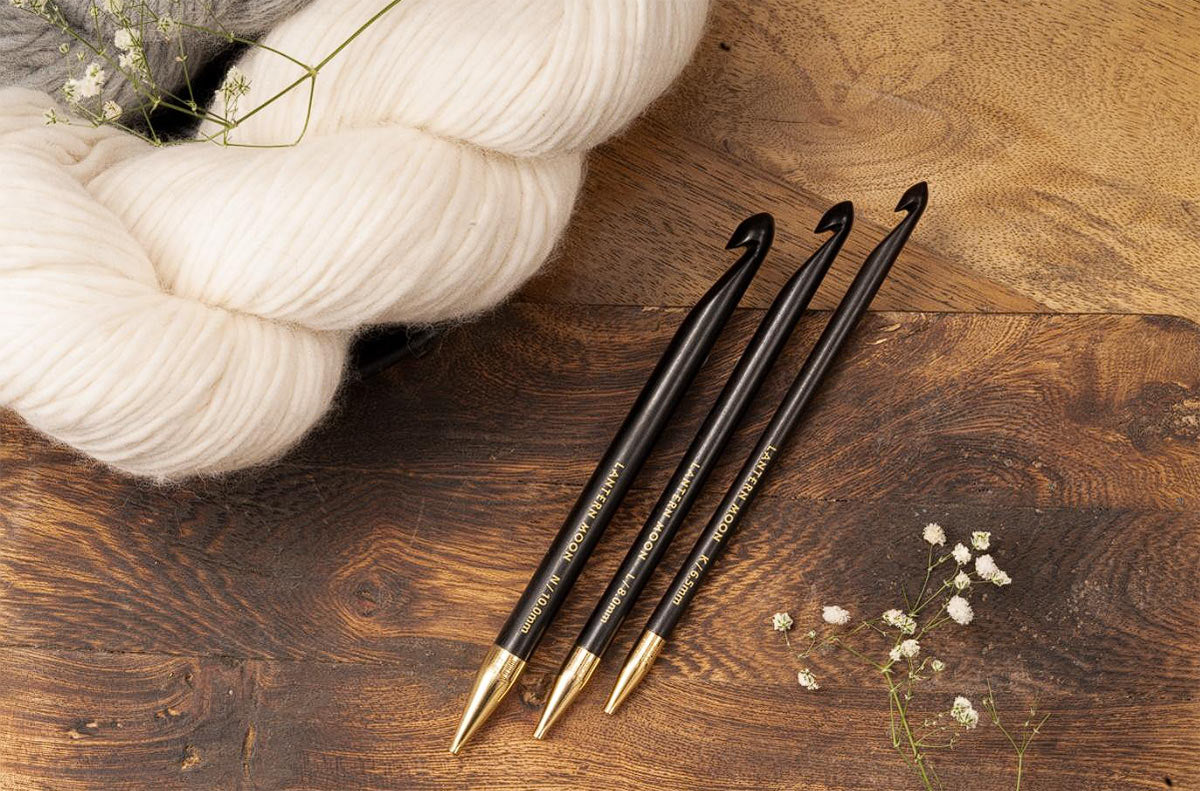
- Hook: You need tighter stitches when making a bunny so that the stuffing won't come out, you can opt for a wooden crochet hook in 3.5 mm size.
- Stuffing: Polyester fiber fill
- Safety Eyes: Small black 6mm or 8mm size of safety eyes to make it attractive.
- Embroidery Thread: For stitching nose and mouth.
- Crochet Accessories: Stitch markers, a finishing needle, and scissors.
US Crochet Abbreviation
- Foundation Chain- CH
- Magic Ring- MR
- Single Crochet- SC
- INC- Increase 2 SC in the same stitch
- DEC- Decrease, 2 SC stitches together
- Sl St- Slip Stitch
- FO- Fasten off
- St- Stitch
We will use US crochet terms in this blog. You can refer to our blog, US vs UK terminology terms related to UK crochet.
Step-by-Step Guide to Crochet a Bunny Egg
Let's jump and make an adorable bunny egg:
Step 1: First, Crochet the Egg Body
We will start by crocheting an egg shape using a continuous spiral.
Round 1: Make an MR, CH 1, and work 6 SC into the MR. Refer to our quick guide to learn how to crochet a magic circle.
Round 2: INC in each round by 2 SC (total -12). Make sure you use stitch markers to keep track of rounds.
Round 3: SC, INC repeat 6 times (total -18). Start making single crochet right away.
Round 4: SC in next 2 St INC, repeat 6 times (total -24).
Round 5: SC in next 3 St INC, repeat 6 times (total 30).
Round 6: SC in next 4 St INC, repeat 6 times (total 36).
Round 7-14: SC in each St (total -36)
In 9-10 rounds, insert the safety eyes, leaving 4-5 St between them. Now, we will start decreasing the stitches. Learn how to SC decrease with our blog.
Round 15: SC in next 4 St DEC, repeat 6 times (total 30).
Round 16: SC in next 3 St DEC, repeat 6 times (total-24).
Round 17: SC in next 2 St DEC, repeat 6 times (total -18).
Now, start stuffing the polyester fiber fill during this stage.
Round 18: SC, DEC repeat 6 times (total -12).
Round 19: DEC around (total-6)
FO, leaving a long tail, pulls stitches tightly to close the hole, and with a finishing needle weaves the loose ends.
Step 2: Crochet the Bunny Ear (Make 2)
Round 1: Make an MR, CH 1, and work 4 SC into the MR.
Round 2: SC, INC repeat 2 times (total 6).
Round 3: SC in next 2 St, INC repeat 2 times (total-8).
Round 4-8: SC in each stitch (total-8).
Now, start decreasing to give a shape.
Round 9: SC in next 3 St DEC, repeat 2 times (total-6).
FO and leave a long tail for sewing.
Step 3: Crochet the Bunny Arms (Make 2)
Round 1: Make an MR, CH 1, and work 6 SC into the MR.
Round 2-4: SC in each St (total-6)
FO and leave a long tail for sewing.
Step 4: Crochet the Bunny Feet (Make 2)
Round 1: Make an MR with a single-ended crochet hook from Lantern Moon, CH 1, and work 6 SC into the MR. Read our blog to learn how to crochet in the round with a single-ended crochet hook.
Round 2: SC, INC repeat 3 times (total-9)
FO and leave a long tail for sewing.
Step 5: Crochet the Bunny Tail
Round 1: Make an MR, CH 1, and work 6 SC into the MR
Round 2: INC SC in each St around (total-12)
Round 3: SC in each St around (total-12)
Round 4: DEC around (total-6).
FO and leave a long tail for sewing.
Step 6: Assemble the Bunny Egg
1. Attach the ears
- Position the ears on top of the egg.
- Sew them securely and make sure they are evenly placed.
2. Attach the Arms and Feet
- Sew the arms slightly below the eyes.
- The feet must be sewn at the bottom of the egg.
3. Attach the tail
- The tail must be sewn at the back of the bunny egg.
Step 7: Add the facial Features
- With the black or brown embroidery thread, stitch the nose and mouth on the bunny egg.
Crocheting a bunny egg is a quick, creative project perfect for Easter gifts, decorations, or a cute addition to your collection of handmade crafts. Besides this, you must have the appropriate tools to make the project creative. Explore Lantern Moon Bequest Tunisian and Radiance single-ended Crochet Hook Set, made of ebony wood, ensuring a snag-free and smooth crochet experience. Remember to share your cute project on your social media channels and tag us @lanternmoonhandcrafted!