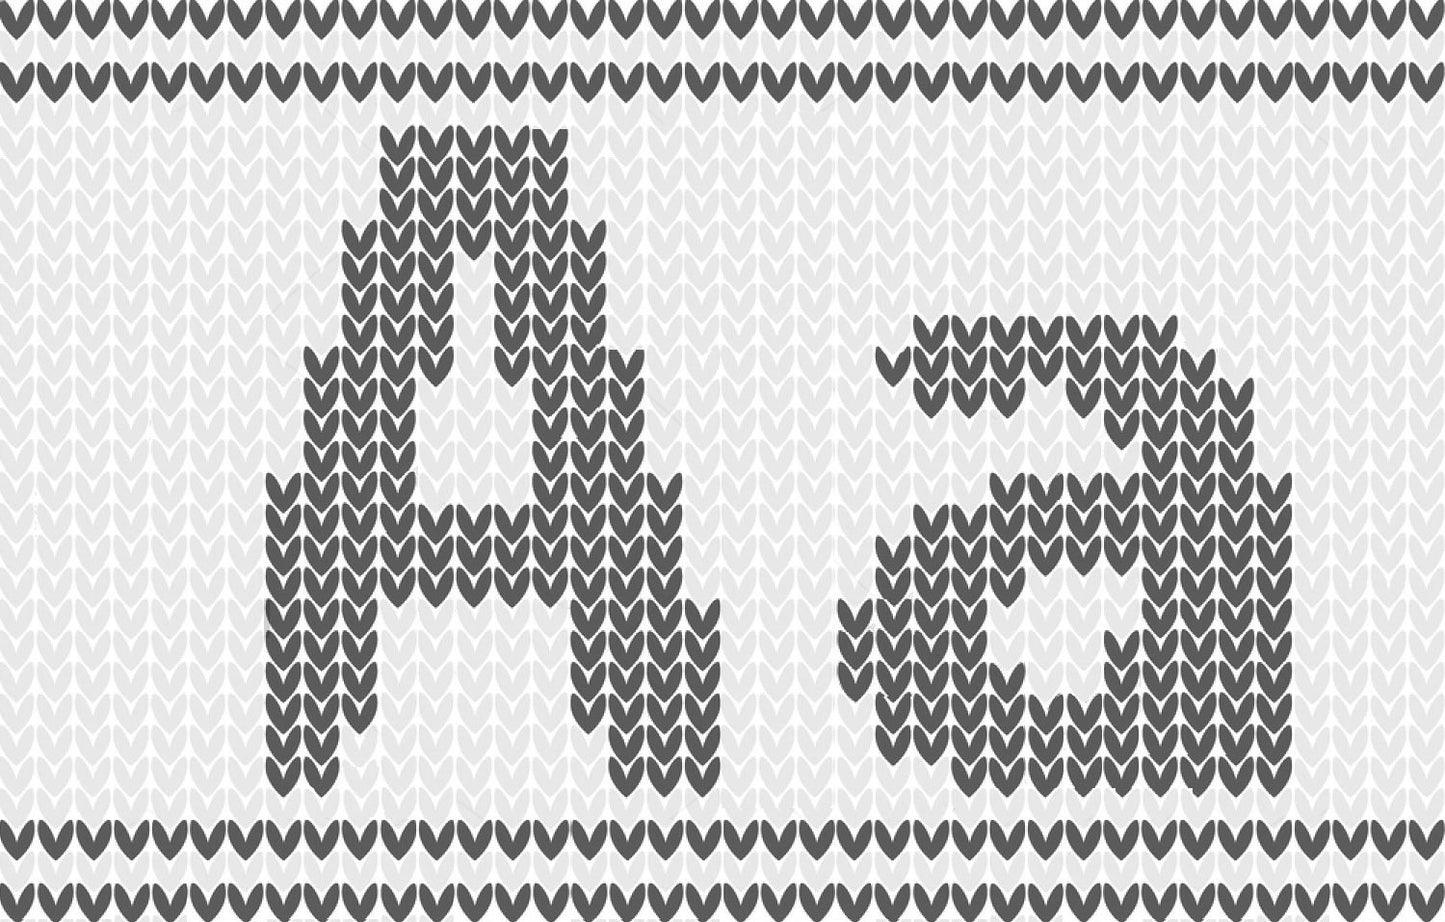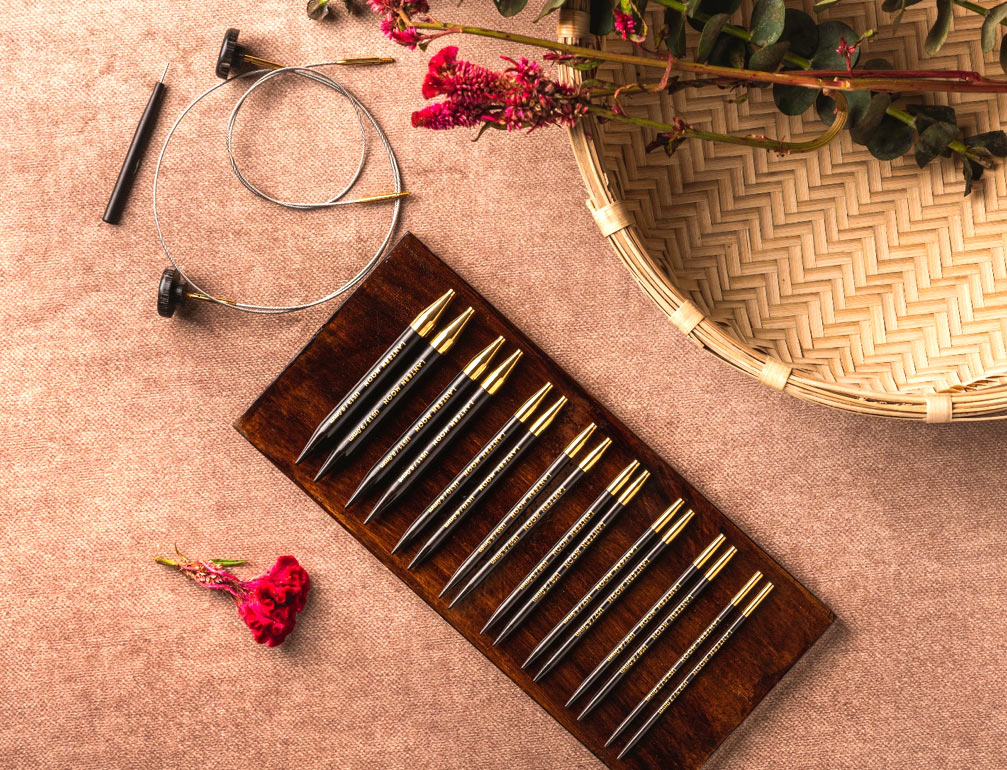
You can really make your knitted products absolutely special by adding a personal touch. Imagine the happiness that would appear on someone's face when they received a gift with their name, a heartfelt message, or a special date lovingly knitted into the fabric. These small touches have the power to transform an ordinary object into a treasured memento. Lantern Moon is going to introduce you to the craft of alphabet knitting today. With alphabet knitting, you may discover your creative vision, be it a unique sweater, a personalized baby blanket, or a scarf with a monogram. So get ready with your knitting needles and yarn in hand!
The possibilities for knitting letters are endless—just use your imagination. Just like with writing, there are a plethora of styles to select from, each adding a unique appeal to your work. Every taste may be catered to with a variety of patterns, whether you like funny and lively letters for kids or more classy and sophisticated typefaces for adults.
But what is the precise process for knitting letters? To get you going, let's review the techniques and pointers.
Exploring Letter Styles
The sky's the limit in terms of design possibilities. Choose the font style and size to match your unique style, or if you are knitting it for gifting purposes, consider the recipient's style. From classic and elegant fonts to bold and playful script fonts, they are there for your lettering style that complements your projects. Do not hesitate to experiment with different colors, stitching patterns, and textures to make your knitted letters pop up and catch every eye. You have all the freedom to explore your creative vision and turn your projects into absolute stunners but must use premium knitting needles for ulimate results.
Picking up the Right Yarn and Needles
Both play a critical role in ensuring your letters stand out easily. Here are some key considerations:
Yarn Weight: Opt for a medium to bulky weight yarn. This weight provides good stitch definition, making your letters more pronounced and distinct.
Texture: Look for yarn with a smooth texture. Avoid highly textured yarns that may camouflage the letters or make them harder to read.
Needle Size: Select knitting needles that correspond to the yarn weight. Using the recommended needle size will help you achieve the desired letter size and tension. You can choose from single to circular knitting needles according to your project type.
Surface: Choose needles with a smooth surface, as they make knitting easier and allow the yarn to glide smoothly along the needles.
By carefully selecting the right yarn and needles, you set yourself up for success in creating beautiful alphabet knitting projects.

Using two different colors for Knitting Letters
It is one of the simplest methods to knit letters into your project. By choosing one color for the letters and another for the main body of the piece, you may create a striking contrast that truly makes the letters shine in your work. Opt for solid colors instead of variegated yarns to achieve a more refined style that exquisitely accentuates your letters.
If you want a more subtle approach, you can change the letters' texture. For instance, you might use a stockinette stitch for the letters instead of a garter stitch if you were working on a garter stitch backdrop. This gives your knitting a more subtle effect, giving it more depth and texture.
Charting the Alphabet
Charting the alphabet is a crucial step in alphabet knitting. It visually represents each letter, allowing you to follow the knitting pattern easily. Many online resources offer knitting charts for alphabets in different styles and sizes. You can choose a chart that suits your project and print it out, draw it on graph paper, or draw it yourself on paint and then graph your alphabet. It's important to mark each square on the chart with the corresponding letter to avoid confusion while knitting.
Knitting the Letters
Now that your knitting chart is ready, it's time to start knitting the letters. No matter which needle you use, single or Double pointed knitting needles, the key to successful alphabet knitting is understanding and following the chart accurately. Here are the steps to knit the letters:
- Start your knitting project using your desired pattern.
- When you reach the row where you want to add the letter, refer to the knitting chart for the corresponding letter.
- Each square on the chart represents a stitch, so follow the chart row by row.
Follow the chart row by row, knitting or purling the stitches as indicated. The chart will guide you on whether to knit or purl each stitch to form the desired letter. Pay close attention to the chart and take your time to ensure accuracy.
Finishing Touches
Weave in loose ends
It's time to tie up any loose ends now. As you knitted, you might have left tails of yarn dangling at the start or finish of each letter. You must weave them in to keep your knits looking nice and tidy and prevent these loose ends from unraveling.
Block your project
Blocking your project is one important step. To smooth out the stitches and give your knitted item a finished appearance, block it by soaking and shaping it.
To block your project:
- Start by filling a basin or sink with lukewarm water.
- Gently submerge your knitted item in the water, ensuring it is completely soaked.
- Let it sit for about 15 minutes, allowing the fibers to absorb the water.
After that, carefully remove the object from the water and gently squeeze out any remaining moisture. The cloth should not be twisted or wrung out since this can harm the fibers. Place the object flat on a clean towel and shape it to the desired dimensions. If necessary, secure the edges with blocking wires or pins.
Before removing the wires or pins, let the object air dry fully. Depending on the thickness of the yarn and the humidity in your surroundings, this procedure could take a day or two. Once it has dried, your knitted object will have exquisitely defined stitches and more prominent letters.
Share your Masterpiece
It's time to show off your masterwork of alphabet knitting to the world once you've added the final touches! Take delight in your work and share it with family, friends, and other knitting enthusiasts, or tag us on our Instagram page #lanternmoonhandcrafted.
