
Crocheting allows you to create anything, from cozy blankets to stylish garments with single-ended, double-ended, or interchangeable Tunisian crochet hooks. To achieve professional-looking results, it's essential to master various crochet techniques. One such technique is the "invisible decrease," a method to decrease stitches without leaving a noticeable gap or hole. In this tutorial, we'll guide you through crocheting an invisible decrease step by step, ensuring your projects maintain a seamless and polished appearance.
Understanding Decreases in Crochet
Before diving into the invisible decrease technique, let's briefly review why decreases are essential in crochet. Decreases are used to shape your work by reducing the number of stitches in a specific area. They are commonly employed in amigurumi, garments, and other projects to create curves, angles, or tapered edges.
A standard single crochet decrease involves inserting your hook into a designated stitch, yarn over, pulling up a loop, and then repeating the process in another stitch. To complete the stitch, yarn over and pull through all loops on the hook. While effective, this method can leave a visible gap between the decreased stitches.
The Magic of Invisible Decrease
The invisible decrease method solves the problem of unsightly gaps, resulting in a smoother and neater finish. It involves working with the front loops of the stitches to create a virtually invisible decrease. This technique is particularly useful when working with tight stitches, delicate yarn, or projects that require a seamless appearance.
Step-by-Step Guide to Crocheting an Invisible Decrease
Selecting the Right Crochet Hook
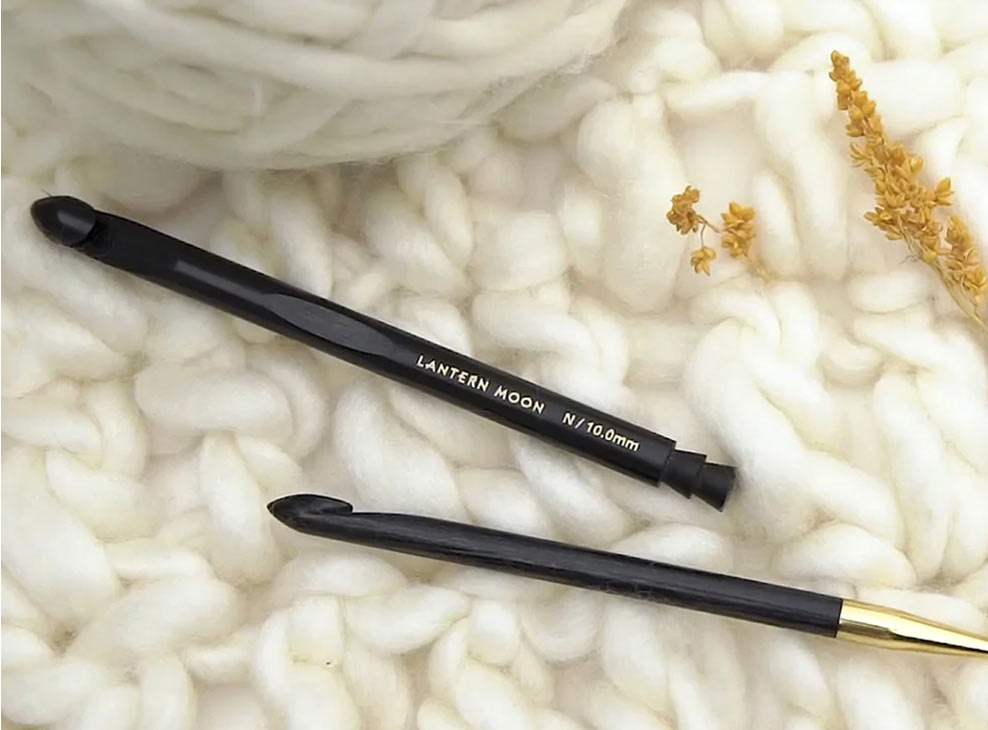
Crafting lace patterns with finesse requires the right crochet hook. Like regular crochet, the hook size depends on the yarn weight, but for the open lace effect, a bigger hook is generally paired with a lighter yarn. Our guide on choosing the right crochet hook sizes is a great resource for making the decision.
Wooden crochet hooks are an excellent choice for those seeking comfort and a natural feel. They offer a smooth and warm touch, making them popular among experienced crocheters. Additionally, premium crochet hooks with ergonomic grips provide comfort during extended crocheting sessions and help ensure consistent tension throughout your work.

Step 1: Identify the Stitches
Begin by identifying the two stitches where you want to make the decrease. These stitches are usually next to each other, and you'll work into their front loops.
Step 2: Insert Your Hook
Insert your crochet hook under the front loop of the first stitch. Make sure to pick up the front loop, leaving the back loop untouched. If you’ve mastered the technique of FLO (front loop only) or BLO (back loop only), the step gets more manageable. Remember that the front loop is the leg of the crochet stitch right in front of you, no matter what side of the pattern you are working on.
Step 3: Yarn Over and Pull Up a Loop
Yarn over and pull up a loop through the front loop of the first stitch. You should now have two loops on your hook.
Step 4: Move to the Second Stitch
Now, insert your hook under the front loop of the second stitch. Again, make sure to only work with the front loop.
Step 5: Yarn Over and Pull Up a Loop
Yarn over and pull up a loop through the front loop of the second stitch. You should have three loops on your hook.
Step 6: Yarn Over and Pull Through
Yarn over once more and pull through all three loops on your hook. This completes the invisible decrease.
Step 7: Continue Your Row
Continue crocheting as usual after completing the invisible decrease. You'll notice that the decrease appears seamless and nearly invisible, blending in with the rest of your stitches.
Tips for Perfecting the Invisible Decrease
Tip 1: Practice till you perfect
Like any crochet technique, mastering the invisible decrease takes practice. Don't be discouraged if your first attempts aren't flawless.
Tip 2: Maintain Consistency
Keep your tension consistent throughout the decrease to achieve uniform results.
Tip 3: Experiment with Yarn and Crochet Hook Sizes
Different yarn and hook combinations may require slight adjustments to achieve the best results. Experiment to find what works best for your specific project.
Tip 4: Take Your Time
While the invisible decrease is relatively simple, take your time to ensure you're working into the correct loops and maintaining an even tension.
The invisible decrease is a valuable technique that enhances the quality of your crochet projects by providing a polished finish. By following the step-by-step guide and practicing diligently, you'll soon be able to incorporate this technique seamlessly into your crafting repertoire. The invisible decrease will help elevate your crochet creations to the next level of professionalism and artistry, whether you're creating intricate amigurumi or elegant wearables.
The Lantern Moon collection offers handcrafted knitting needles, crochet hooks, and accessories. Made from sustainable ebony wood, each tool and accessory displays a liquid-silk finish that works with all yarn types. Explore knitting needle sets, single-ended, and interchangeable Tunisian crochet hook sets for all your crafting needs. Happy crocheting!