
Do you want to start your project with a stretchy cast on? And, your regular cast-on is not giving the required elasticity? Well, it’s time to expand your skills and explore different techniques. Let’s get started with a German twisted cast on. Get your knitting needles and matching yarn. Though not entirely beginner-friendly this technique is easy to master. To help you master the twisted German cast-on method, we’ll walk you through the steps.
Understanding the Twisted German Cast-On
The twisted German cast-on is a beautiful and elastic method for beginning your knitting projects. It creates a clean, stretchy edge that is perfect for garments, lace, and other projects where a smooth start is essential. While it may seem a bit complex at first, with practice, this cast-on becomes second nature. This method produces a stretchy, reversible edge that lies flat and doesn’t curl.
Getting Started: Materials and Setup
Before you begin, gather your materials:
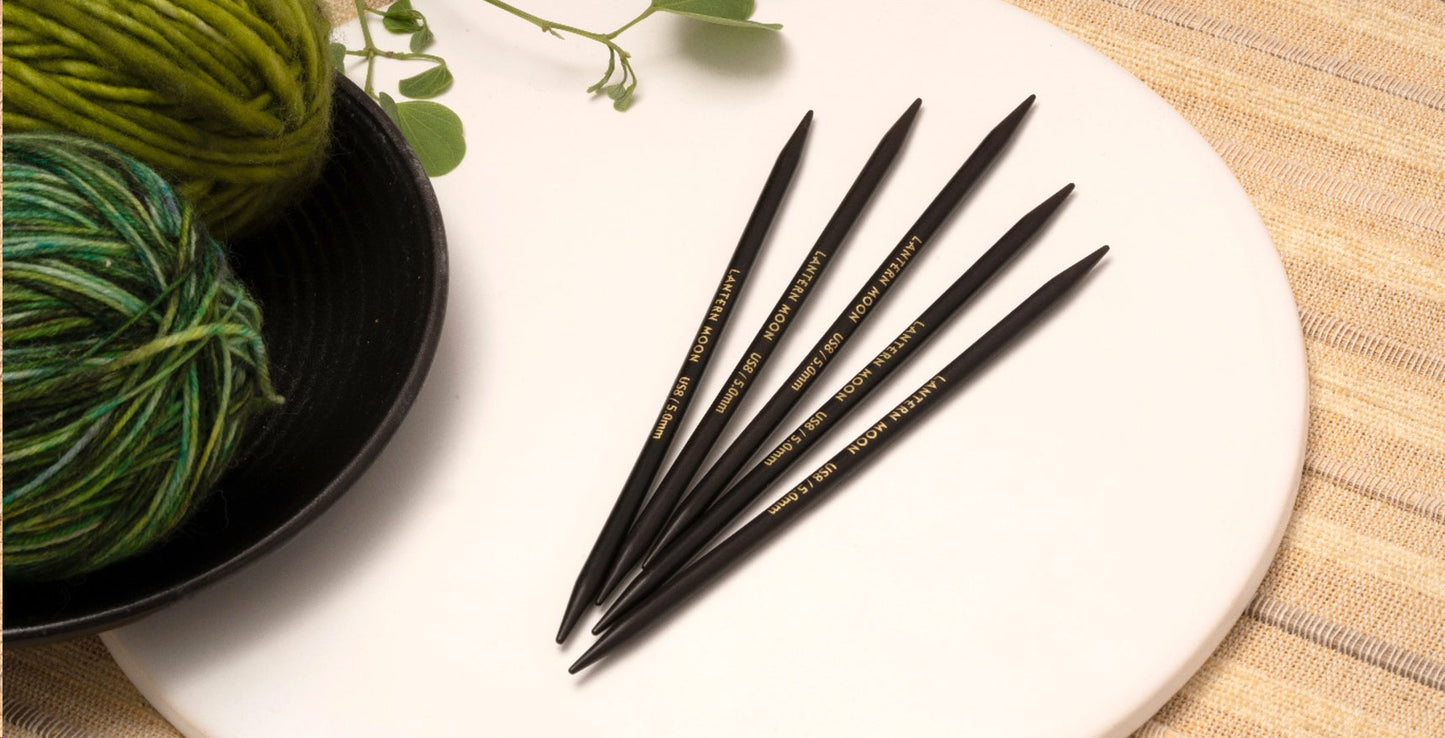
Knitting needles – You can cast on your stitches on any of the types of knitting needles according to your project requirements. You only need one needle to cast on stitches. If you are working on a shawl or scarf, choose a pair of single-pointed knitting needles or circular needles. If you are working on socks, hats, or even a sweater, you can choose double-pointed knitting needles (DPNs) or circulars. It is recommended to choose one size larger than your project needles.
Another option is that you hold two needles together while you cast on stitches and then separate them. This will ensure that the stitches are loose and offer added stretchiness. Follow our guide on how to cast on knitting with two needles.
Yarn – You can work with any yarn for your project but first make sure it matches the needle size. If you are looking for practice, choose a DK yarn or worsted weight yarn to clearly view the cast on stitch formation.
Step-by-Step Guide to the Twisted German Cast-On
Step 1: Set the hand and yarn position

Set your hand and yarn in a twist in the very process of casting them onto your needle. It will give your loops a double twist. You can always make a slipknot beforehand, but you can also do without one without compromising on the foundation row stability.
Step 2: Movement of the Knitting Needle

Once the hand and yarn are set up in your left hand, hold the knitting needle with the right hand. Push the needle towards the yarn between your thumb and index finger, pushing it under both thumb yarns around the thumb. Keep pushing under the second thread and come up on the other side of your thumb loop. Next, take the needle tip through the thumb loop, but do so from top to bottom. Now guide your knitting needle towards the index finger yarn and bend your thumb slightly, before grabbing the yarn with the needle tip.
Step 3: Grab the yarn and pull through

After going through the knitting needle movement, grab the yarn and finish off the cast on by pulling it through the thumb loop from the top. Bending your thumb slightly will aid you in the movement.
Once you have the sling on your needle, you can let the thread around your thumb go and use the thumb to pull the thread tight under the needle, ensuring that the cast on stitch forms neatly.
The result of Twisted German Cast On

The German twisted cast-on forms little bumps on both sides of the knitting needle. When you look at the right side of your project after knitting a few rows, the twisted stitches sit neatly on top of your edge, which is the secret behind the extra elasticity this method provides. The main difference between the regular cast on and the German cast-on becomes visible after a few loop stitches.
Calculating Yarn Needed for the Twisted German cast-on
The extra twists needed for the cast on guarantee extra elasticity however, it is also the reason why this way to start your knitting project will eventually consume more yarn than any other cast-on method. Therefore, please make sure you have enough yarn in your long tail end before you start. Our blog on 5 methods to calculate yarn needed for long tail cast on works for the German twisted cast-on method too.
The best option is to cast on with both tails of the yarn ball ensuring that you never run out of yarn.
When to Use the Twisted German Cast-On
The twisted German cast-on is particularly well-suited for:
- Lace projects, where a stretchy and invisible edge is essential. Whether it’s a lace shawl, scarf, or sweater, the cast on will guarantee an open weave that works beautifully for the project. The beauty of the cast on works for every kind of lace project.
- Garments, such as sweaters and socks, where a comfortable neckline or cuff is desired.
- Any project where you want a clean and professional finish.
By mastering the twisted German cast-on, you'll elevate your knitting to the next level. Its versatility and elegance make it a valuable technique for any knitter's repertoire. If you are interested in expanding your skills, follow our blog for updates on techniques, tricks and stitch patterns. For a similar stretchy cast on technique, learn more with our blog on how to knit a cable cast on.