Do you want to expand your Tunisian crochet skills? As a crocheter, you must be excited to try your hands at new stitches & techniques. The beautiful Tunisian crochet craft merges knitting and crocheting well creating a fabric that looks the best of both worlds. To explore the creative craft, all you need is your trusted interchangeable Tunisian crochet hooks and yarn. Just like the stitch names and the technique of working, the Tunisian fabric created has a lot in common with knitting. Once you learn the basic stitch techniques, you can proceed with expanding your skills. So, it’s time to learn a new stitch pattern, the Tunisian Saloniki Ribbed Stitch.
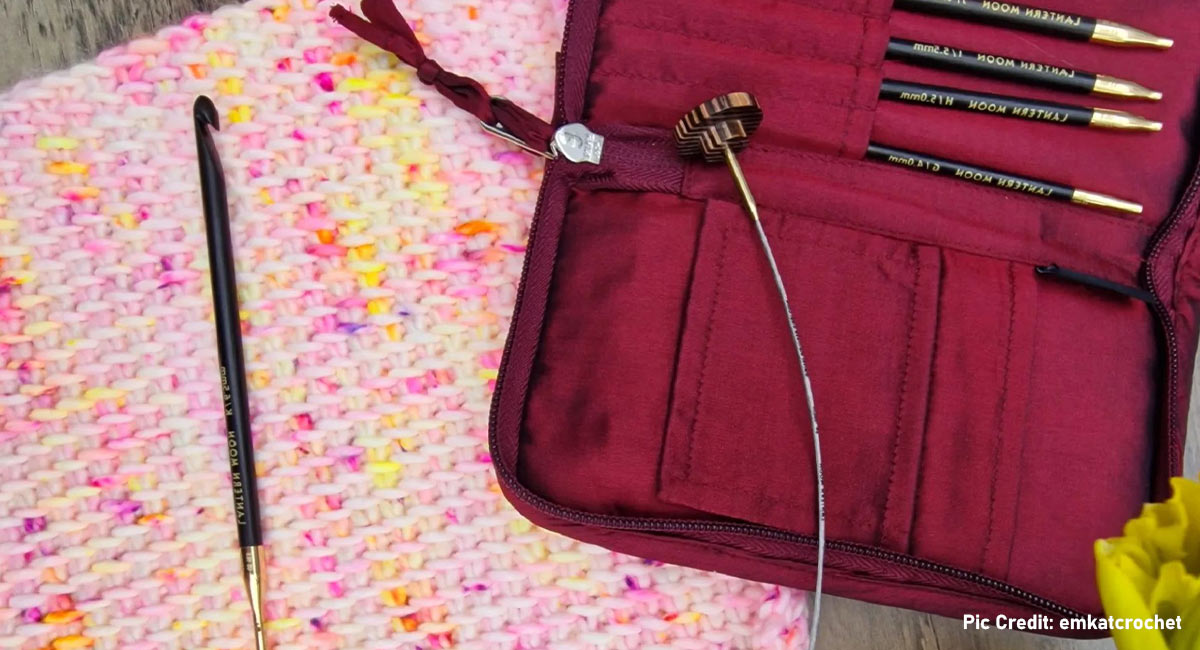
In this blog, we'll explore how to crochet the Tunisian Salonki Ribbed Stitch step by step. Now, let’s introduce you to the perfect tool for the job: Lantern Moon crochet hooks. The ebony wood hooks have a liquid silk finish that makes stitch-making smooth, while the cords with a stainless steel core have a nylon coating in a transparent material that makes working with yarn smooth. The smooth hook and even smoother cords work as one in crafting wonders.
Understanding the Tunisian Salonki Ribbed Stitch
When you think of adding texture and flair to your projects, this Tunisian stitch can do wonders. Fun and easy to make, Tunisian Saloniki Ribbed Stitch works for beautiful blankets and afghan projects but can also be adapted to other types of projects as well. After all, it’s versatile and also highly customizable, so you can experiment with colors as well as yarn types and weights. Above all, this is fairly beginner-friendly. You get a look of a unique ribbed texture that looks like knit and purl ribbing without having to do the little-challenging purl stitches. The dense fabric makes it a winter favorite- blankets, scarves, hats and even sweaters.
Like knitting and crocheting, Tunisian crochet uses some basic stitch techniques. For the Saloniki Ribbed stitch pattern, the knowledge of Tunisian simple stitch (TSS) and Tunisian Full Stitch (TFS) is essential.
Supplies you’ll need

Tunisian Crochet Hooks - To begin, you'll need a Tunisian crochet hook of your choice. You can explore our beginners guide to selecting a Tunisin crochet hook The size of your hook will depend on the weight of your yarn. If you are following a pattern, you will get all instructions. If you want to work on a practice swatch, a 5mm (H-8) hook is fine. Additionally, using high-quality hooks like from the Lantern Moon collection can make the stitching process smoother and more enjoyable. In fact, the Bequest Set of interchangeable crochet hooks has all that you need in one place. A complete kit that helps you enjoy your Tunisian crochet craft with smooth ebony wood hooks and accessories in a handcrafted khadi-silk case.
Yarn—Follow the pattern instructions, or for practice, a DK-weight yarn from your craft stash will be enough. As the stitch pattern is greatly textured, work with yarns that make it easy to view your stitch-making. Choose the yarn according to your project—a warm wool blanket for winter or a DK-weight yarn for summer and spring.
Accessories- Smooth crafting sessions require some handy accessories- a pair of scissors, finishing needles, stitch markers, etc.
Step-by-Step Guide to Crocheting the Tunisian Salonki Ribbed Stitch
1st Step - Work the Foundation Chain with an even number of stitches, plus one additional chain for the turning chain. You can take 20+1 stitches for practice.
2nd step: Make a Tunisian Forward Pass with two Tunisian Simple Stitches followed by a Tunisian Full Stitch (TFS). Repeat this process of the three stitches across the row, keeping all loops on the hook. Make sure to work the full stitch between the vertical passes as you do in normal Tunisian crochet work.
3rd Step—You will be working on a modified return pass. Yarn over and pull the hook through 1. Next, yarn over and pull through 3. Yarn over and pull through 2 until you have 3 loops on the hook, and then yarn over and pull through 2 stitches twice.
4th Step- Bind off by working a slip stitch across the row as follows: insert your hook under the vertical bar of the next stitch, yarn over, and pull through both the stitch and the loop on your hook. Repeat this process across the row until only one loop remains on the hook.
Cut the yarn, leaving a tail, and pull it through the remaining loop on your hook to secure it.
With the right tools and a bit of practice, you can master this stitch and create stunning pieces. To expand your skills; explore our previous guide on Tunisian Rib Stitch Patterns. So grab your hook and yarn, and let's get crocheting!
