
Want to turn your projects into a masterpiece? The trick is to make a beautiful pattern of edges that makes your project shine. In our previous blog, we shared a guide on5 knitting tricks to make beautiful edges , in this blog we’ll be taking a look at the edge patterns that make your knitting project a beauty. Just grab your knitting needles for some practice. And, even if you have a project on your needles you still can make them extra special.
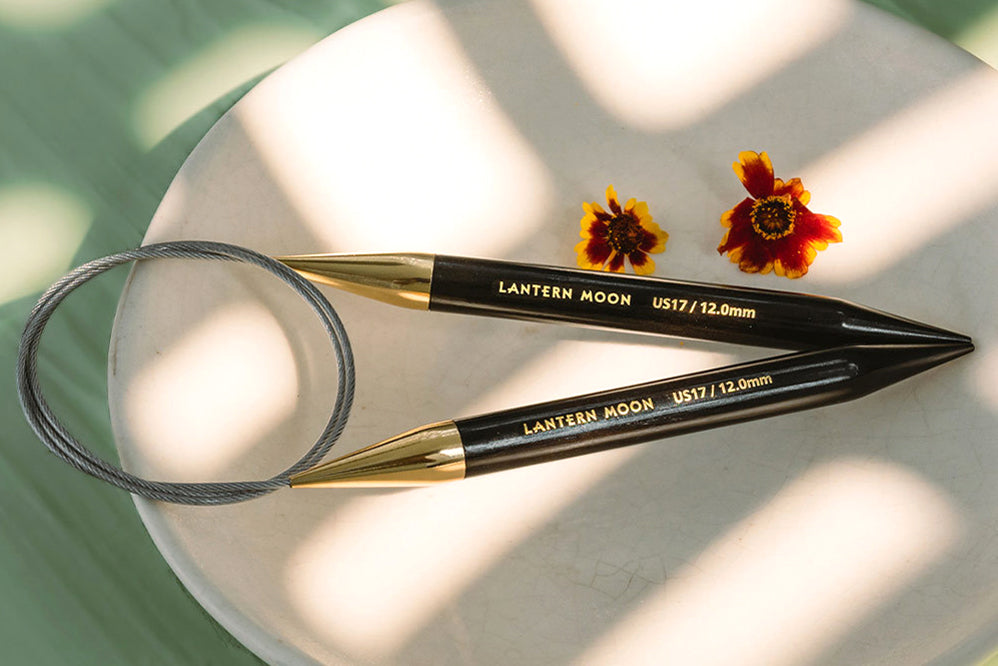
The choice of edge stitch pattern can really make your knit patterns pop so it is important to choose right. Even if you know some patterns it is always great to learn some new tricks. The designs we’ll take you through are perfect for new as well as advanced knitters because they use basic stitches and techniques. Choosing the right type and material for your knitting needles is vital for your own comfort and the success of your planned project. The Lantern Moon Collection is a range of stainless knitting needles in a standard range of sizes in options of fixed circulars, interchangeable circulars and DPNs. Carrying a special word of motivation, each needle is an effective tool for Lantern Moon knitting.
Let’s get started and take a look at the 5 stitch patterns to make gorgeous edges.
1. Ribs
Ribbed edges are beautiful as well as functional. They look great on all knitting projects whether it’s a sweater sleeve or bottom, hat, socks and even a scarf. With knit and purl combination repeats, rib stitches are easy to make the pattern repeats are easily memorized. The effect is a stretchy fabric that looks neat, hides minor consistency and has a good fit.
Instruction to Knit Rib Stitch Pattern
The edge stitch pattern can be made with many different combinations. There are even ribs, like K1, P1 or K2, P2. To make them extra special experiment with a combination of K2, P3 and other numbers.
2. Picots
Picots are one of the most decorative stitch types that can be made easily. There are a few different ways to achieve gorgeous picots so you can experiment with them according to your project and the yarn fiber. Do not make them too tight or too loose as the zig-zag trim might not look the way you want. If your knitted pattern is stockinette then this will certainly make them look neat and not let them curl. It is always recommended to block your project with proper blocking tools so that the yarn relaxes and the stitch pattern shines. You can refer to our guide on transforming your knitting project with blocking.
Instructions to Knit Picot Stitch Pattern
Step 1: Start by binding off 2 stitches the way you do it regularly. Keep a moderate tension.
Step 2: Slip the remaining stitch back into the left needle.
Step 3: Cast on 2 stitches with a knitted cast on.
Step 4: Bind off 4 stitches.
Step 4: Repeat steps 2-4 until you bound off all stitches.
3. Yarn Over Edge
The yarn over edge looks like a line of dew drops and adds to the beauty of any knitting pattern. While there are many knitters who use this edge for shawls and scarves, it works wonderfully for cardigans, blankets and other projects with open sides.
Instructions to Knit Yarn Over Edge Stitch Pattern
Step 1: Cast on 2 stitches with the knitted cast on for one side of the edge and 4 for edges on both sides. You can switch to a bigger needle size for smooth knitting.
Step 2: Knit two stitches as normal.
Step 3: Pass the second stitch over the first one on the right needle and drop it off the needle.
Step 4: Add a simple yarn over (and maybe secure it on your finger). You can use a locking stitch marker or even a single double-pointed needle to hold them in place.
Step 5: Pass the new second stitch over the yarn over you just created.
Step 6: Knit one stitch and repeat the steps till you’ve worked with all stitches on the row. Alternate between casting off one stitch from the original edge and one yarn over.
4. Ruffles
A ruffled edge is a classy yet playful look perfect for sporing and summer knitting patterns. Be it the edge of a blanket or leg warmers, socks, or even hats, ruffles can be easily knit with simple techniques.
Given its beauty, ruffles can be added to the edge of the cast on or before you bind off.
Instructions to Knit Ruffled Edge Stitch Pattern
When you want them at the start of the pattern
Step 1: Cast on twice as many stitches as your project will need
Step 2: Knit two rows - one garter stitch (row of knit stitches).
Step 3: Knit to the height of the edge you want
Step 4: K2tog (knit two together) across the entire next row/round to make ruffles.
Step 5: Bind off according to the stitch pattern.
At the end of the pattern
Step 1: Knit to the hem,
Step 2: Increase after every stitch on the next row. Use the pattern or K1, M1 or K1, yo for an eyelet row.
Step 3: Work the hem to your desired length in stockinette stitch, then work a ridge of garter (knit two rows).
Step 4: Bind off as usual.
5. Scalloped Edge
Scalloped edges are beautiful. Even if the entire project is made with a simple stockinette or garter, the edge absolutely takes your breath away. Though they look so intricate, they can be made quite easily.
To make the scalloped edge you do not need to follow a particular method. You can make it with a 7+1 stitch pattern or even a 10+1 stitch pattern. You need some planning if you are making it at end of the project. Divide the number of stitches in a row by either 8 or 10 or any number that suits you. It’s better if you knit a swatch first. This way you’ll get an idea of how the yarn is going to look like.
Instructions to Knit Scalloped Edge Stitch Pattern
Step 1: Purl
Step 2: K2, * k1, slip it back to left-hand needle, pass next 8 stitches over it and off the needle, yo 2 times, knit the slipped stitch again, k2*
Step 3: k1, *p2tog, slip 1 yo off, (k1 in front of loop, k1 in back of loop) 2 times in yo loop, p1* k1
Step 4: knit
Step 5: Bind off all stitches.
Besides knitting, you can make edges with a darning needle or pom pom makers. There are countless other edge ideas, but these are a start.
Make your project a masterpiece. Happy knitting to you!
With the Lantern Moon Collection explore knitting needles and accessories that help you enjoy every moment spent knitting.