Did you know there is a way to knit diagonally? You do not always knit back and forth or in the round; there’s an exciting way to knit diagonally. With your regular knitting needles and a few tricks, it is pretty easy to knit diagonally. It is best recommended for interesting-looking squares knit for flat patterns.
Diagonal knitting is also known as Bias knitting. Bias knitting means you are just diagonally with your regular pair of knitting needles and yarn. Generally, the pattern is knit flat with either single-pointed needles or circular knitting needles. After you cast on stitches, you'll increase stitches at one end of your knitting and decrease on the other to create a diagonal effect. It is an effortless knitting technique to learn. The stitch pattern is adaptable to many stitch motifs, including lace knitting. This unique knitting technique makes already interesting self-striping yarns even more appealing. Knitting diagonally also provides the perfect canvas for multiple yarns.
Step by step to Knit diagonally
Knitting diagonally essentially means knitting corner to corner which gives your project shape. In a way, it is like C2C (corner-to-corner crochet) but not as complicated.
Step 1 – Build the First Corner
Cast on 2 stitches on your knitting needle. Use any method to cast the stitches that you are comfortable with. If you want a stretchy start, a long tail cast-on method is suitable. You just need to calculate the quantity of yarn for the tail.
Though the cast on stitches sits on your right knitting needle. Turn the project and hold the knitting needle with the cast-on stitches in your left hand.
Row 1: Knit increase in each stitch. You will have 4 stitches. For the knitting increase, you can work with any method you prefer. The simple way is to knit the stitching front and back. KFB is an increase technique in knitting that is made with the technique of knitting twice into the same stitch. You knit once through the front of the loop and one more time through the back loop of the same stitch. Even if you purl you still can increase.
Row 2: Knit all stitches if you working on a garter pattern. For stockinette, this row will be of purl stitches.
Row 3: Knit across. Increase in 1st and last stitch. You can work with any technique, but then KFB will be the easiest.
Continue working with rows 2 & 3 until the bottom edge of the triangle is as wide as the desired length of the project.
Step 2 – Long Center Section
Row 1: Increase in the first stitch and then knit to the last 2 stitches; knit 2 together.
Row 2: Continue the row of knit stitches if you are working garter and purl stitches for this row if you’re knitting a stockinette pattern.
Continue the pattern of working on these 2 rows alternately until the project is as tall as desired, ending with Row 2.
Step 3 – Last Corner
Row 1: Here to get the shape of the corner, you will need to work a decrease. You can use any method that you prefer. Knit 2 stitches together (K2TOG) at both the beginning and end of the row.
Row 2: Knit or purl stitches according to the stitch pattern.
Repeat the stitch pattern of theses 2 rows until only 2 stitches remain, then knit those 2 together and fasten. You have knit a square diagonally. You can knit and join these squares to design a blanket, etc. You can also adjust the size of the square with this knitting method.
How to Knit the Diagonal Stitch Pattern
Besides knitting diagonally, another option for beginners is to knit the diagonal stitch pattern. A four-row stitch pattern that can be worked with only the knit and purl stitches and no other special techniques or knitting needles. Another advantage is its reversible pattern (identical on both sides). Also, the knitted fabric lays flat because of the balance of knit and purl stitches in each row. It is perfect for scarves, blankets, hats, and even sweaters or cardigans.
Ok, grab your needles + yarn, and let’s get busy.
Step 1 – Cast on stitches in multiples of 4 + 2. For example, if you have 20 stitches to cast on, add an extra 2 for neat edges.
Hold the needle with cast-on stitches in your left hand.
1st row: Knit 1, repeat purl 2, and knit 2 till the last stitch of the row, which you’ll end with 1 knit stitch.
2nd row: Knit 1, repeat purl 1, knit 2, and purl 1 until the last stitch, where you’ll again end with 1 knit stitch.
3rd row: Knit 1, then continue with knit 2 and purl 2, repeat to the last stitch. Knit 1 and end the row.
4th row: Knit 1, and then repeat the pattern of knit 1, purl 2, knit 1 to last stitch, and then knit 1.
The four rows create the pattern of diagonal stitches. Repeat them until the desired length is reached.
After you finish that pattern, bind off working each stitch as it presents after row 3 on the wrong side.
With this tutorial, you can knit diagonally and knit the diagonal stitch pattern. The trick to knitting these interesting stitch techniques is high-quality knitting needles that work for you.
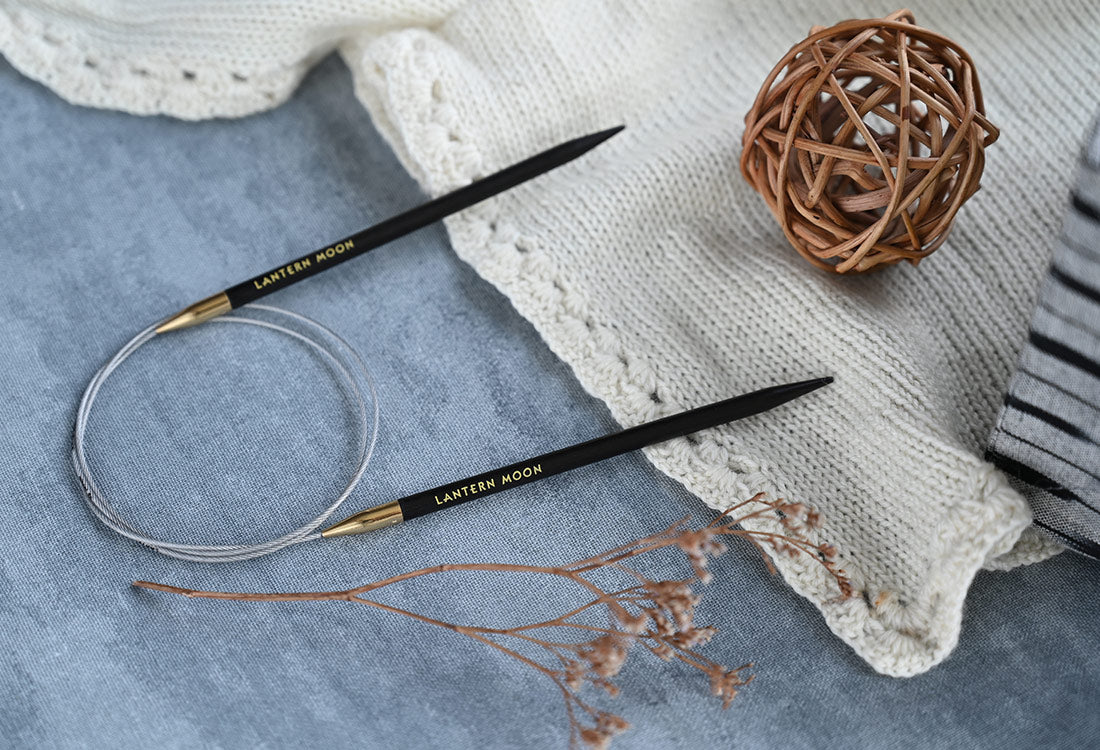
Browse through the Lantern Moon Collection for premium ebony wood needles in varieties of fixed and interchangeable types and double-pointed knitting needles along with all tools and accessories. Another interesting way to work on such patterns is either corner-to-corner crochet or knitting mitered squares. You can also browse interesting knitting patterns that work with different ways of knitting a pattern of diagonal structure.