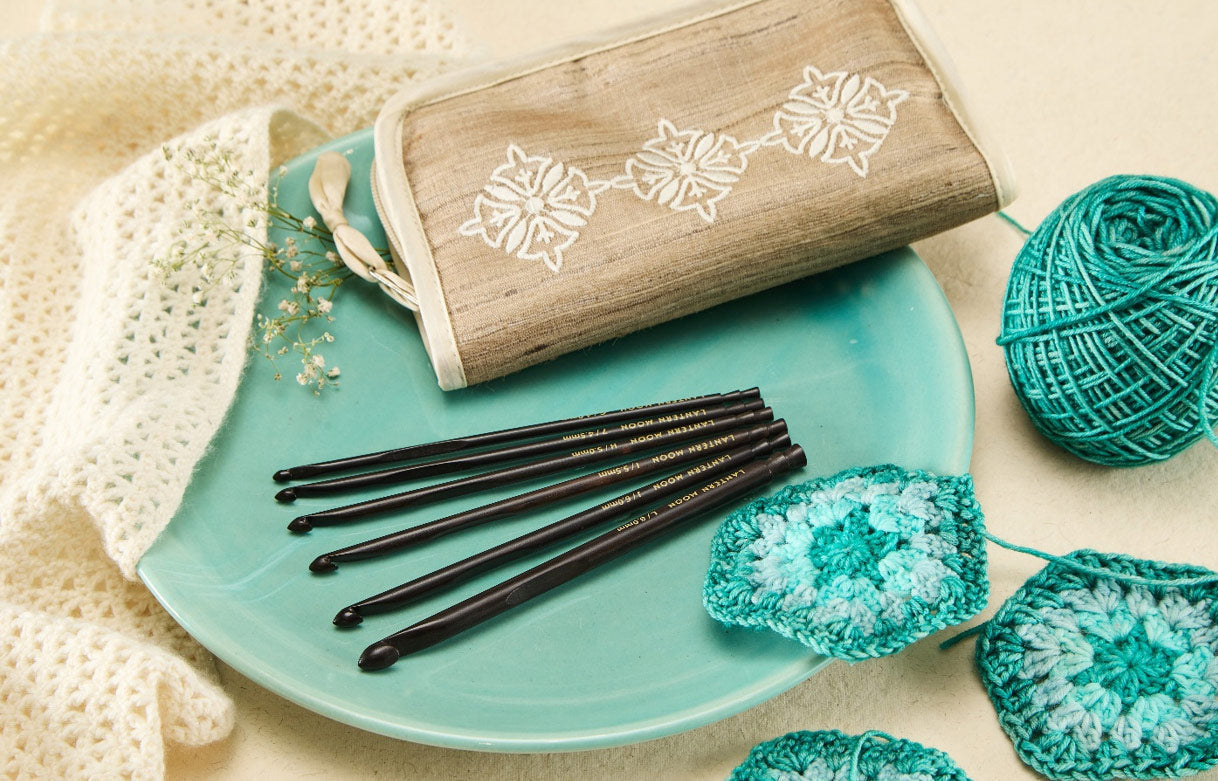
Crochet opens up endless opportunities to create textures. The yarn craft is a beautiful way to create interesting designs with crochet hooks. One such textured crochet beauty is the star stitch. The elegant stitch pattern is inspired by its name creating star-like designs creating a thick, cozy, and dense fabric. The crocheted stitches work perfectly for projects such as scarves, blankets and washcloths. It looks complex in the beginning but it's pretty simple. Expand your crochet skills with the gorgeous textural stitch. In this blog, let's learn to crochet the star stitch with Lantern Moon.
How to Crochet the Star Stitch
The Star Stitch works with basic crochet stitches and techniques. Basically, it’s a cluster of stitches radiating from a single hole. It is also known as Marguerite, daisy, or even a spiked cluster. For this stitch, you only need to be confident with the basics of crochet - chain, single crochet, half double crochet and crocheting stitches together. Refer to our blog for a step-by-step guide to basic crochet stitches. There are various versions of this, from a simple two-row repeat to a gorgeous reversible design. Regardless of what version you use, remember, that the star stitch has the reputation of being a yarn-eater.
What Materials Do You Require?
Before you explore the star stitch, gather all the necessary materials.
- Yarn: For crocheting a star stitch you can use any DK or worsted-weight yarn as they are beginner-friendly. Stay clear from specialty-fiber yarns as they For practice use any scrap leftover from your stash. For a project, follow the pattern instructions and if you are designing your own make sure to work on a gauge swatch.
- Crochet hook: You can use any hook- single-ended or interchangeable Tunisian without attaching the cord. With wooden crochet hooks enjoy the natural grip and smooth surface that also allows better control when working with intricate patterns. Lantern Moon ebony wood crochet hooks are perfect for smooth stitch-making. Make sure you have the crochet hook in the size matching the yarn weight. Work with individual sizes or make use of the Radiance Set or Bequest Set for 6 hook sizes.
- Crochet accessories: Work with tassel or meadow stitch markers. The ebony wood finishing needles are great to work with. Choose from the joyful collection of measuring tapes. And, let Baabs or Sherpa be your handy crafting assistant.
Crochet Abbreviations in US terms
Chain: CH
Yarn Over: YO
Single Crochet: SC
Half Double Crochet: HDC
Now if you are not familiar with these terms our blog on US vs UK crochet terminology is going to be your guide.
Step-by-Step Instruction for a Simple Star Stitch
Ready to start your first star stitch pattern? Follow these simple and easy steps:
Step 1: Make a foundation Chain
- Start your star stitch by making a CH. If you are following any pattern then, it will tell you the desired number of chains. Otherwise, you can create an odd number of stitches. Refer to our beginner's guide on how to start a crochet chain.
- Next, insert your single-ended crochet hook into the 2nd Chain and YO and pull through the loop. This is an SC stitch.
- Instead of completing the stitch, keep the stitches on the hook.
Step 2: Draw up the loops
- Insert the crochet hook into the next stitch, yarn over, and pull through. Now, you have three loops on your crochet hook.
- Continue the process until you have six loops on the hook.
Step 3: YO and Pull through the loops
- Once you have six loops on your hook, again YO and pull through all the loops, this will make your first star stitch.
Step 4: Finish the first star
- Now, CH one, this will finish your star and create an eye in the center and you will be working into the eye.
Step 5: Begin the Second Star
- Insert the hook into the eye, YO, pull through and now, you will have two loops
Step 6: Insert the hook between the spikes
- Next, insert the hook into the space between the last two spikes from the first star, YO, and pull through. There are three loops on the hook.
Step 7: Insert the hook into the CH

- Following the same process, insert the hook into the same Ch where you worked the last stitch of the previous star. YO, pull through and you now have four loops.
- Insert the hook into the next stitch, YO, pull through and now you have six loops.
Step 8: Complete the Second Star Stitch
- Finish the second star in the same way as you did for the first one. CH one to close the second star.
Step 9: Crochet Star Stich across the row
- Repeat the above step to make a star across the rows.
- Once you reach the last stitch, make one HDC in the final stitch.
Step 10: Start with HDC in the Second Row
- Now, work rows of HDC between each row of star stitch. Turn the work and CH two. This is the first HDC, now make two HDC stitches into the eye of the star in the row below.
Step 11: Complete the HDC row
- Work two HDCs in the eye of each star and complete the row.
- In the end, crochet two HDCs in the final stitch. Now follow the same steps as above until you reach the desired shape. Weave the loose end with the finishing needle.
The star stitch is a beautiful, decorative crochet stitch that adds texture and uniqueness to your projects. With a little practice, you’ll find it a simple yet impressive addition to your crochet skills.
