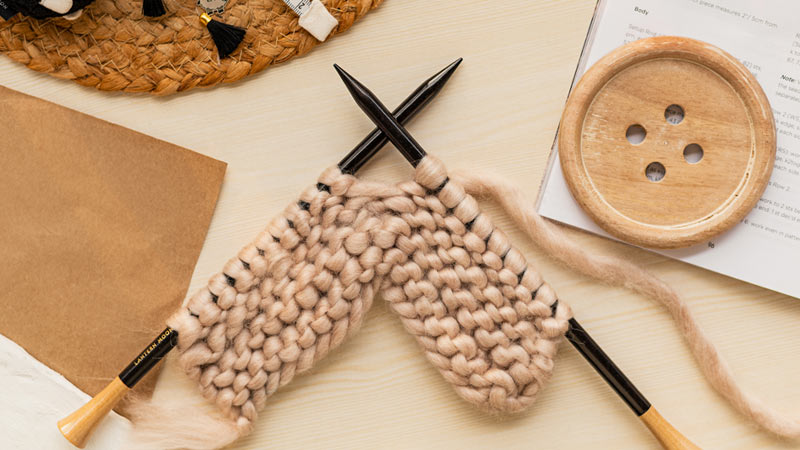
Cast on is the first step of any knitting project. As the saying goes, “A good start makes the rest easier”. When you cast on knitting, you lay the foundation of your project whether you are working on single-pointed , double-pointed or even circular needles.
There is no right or wrong method to cast on stitches. Most patterns instruct how to go about it but as every knitter is different, each one has a different style of tensioning the gauge. While we mostly start with the basic cast-on technique, later in your knitting journey you will need to understand and use other cast-on methods.

If your knitting pattern asks for a two-needle cast-on and you know only know how to do it with one, you came to the exact right place. We are going to discuss the process to cast on two needles.
Why Cast on with two needles?
Casting on stitches with two needles results in a much stretchier edge which gives this technique an upper hand for lace projects, a 2×2 rib stitch, and similar patterns. It’s a bit more complicated to do than a basic cast-on, but it’s worth investing the extra time and effort. The two needles cast-on create a very neat and sturdy edge and are easy to knit across in the first row.
If you are in search of how to cast on knitting with two needles, let us guide you through with easy instructions.

Before that let me quickly list the things you need to have
- Knitting needles: Choose single-pointed, double-pointed or two circular needles as the pattern instructs. In case you just want to experiment, use needles that are easy for you to work with. We recommend using sizes such as US 6 (4mm), US 7 (4.5mm), or US (5mm). These sizes allow seeing stitches as they are being made without hurting your hands. For needle lengths, use according to the number of cast-on stitches you need.
- Yarn: Any yarn, any weight you are comfortable with. Once again if you are following a pattern you will have the information. If not, go for yarns that allow you to see stitch formation. Try 4-ply DK yarn. Most yarn labels instruct the needle sizes that go with it.
Step by step guide
Step 1 - Start with a standard slip knot around the bigger needle leaving a tail that is around 5 times as long as your work should be wide.
Step 2 - Make a slip knot, slide it onto the needle, tighten and hold this needle in your left hand.
Step 3 - Insert your right knitting needle through the front of the slip knot stitch. Ensure the right needle is behind the left needle.
Step 4 - With the ball end of yarn behind the needles, wrap it around the tip of the right needle anti-clockwise.
Step 5 - With the tip of the right needle, carefully draw a loop by going down through the slip knot and out.
Step 6 - Bring the right needle up and carefully transfer this new stitch to the knitting needle on your left hand and release the right needle.
Step 7 - Tighten your stitches. Repeat steps 2-5 until you have the desired cast-on stitches.
If you have followed us through, you have successfully cast on your knitting with two needles. Now you can knit according to the pattern or as your project demands.
Given the right knitting needles and accessories, you can take up any project. What is your preferred way to cast on for a new WIP?
