
The crocodile stitch in crochet is a beautiful textured pattern. With just your crochet hooks and yarn, you can work on this piece of art. Don’t get overwhelmed by its unique appearance as it is founded on basic crochet stitches. There are various ways to create this textured, non-reversible pattern with most common repeats of chain and double crochet (DC) stitches. Resembling fish scales, bird feathers, or as the name suggested crocodile or reptile scales, the distinct appearance makes it perfect for fantasy-inspired projects. Think dragon-themed accessories or mermaid tail blankets, but is also versatile enough for creating textured pillow covers, sweater yokes, hats, and stylish bags.
Although the stitch may seem complex, once you get the hang of it, you'll find it becomes second nature. To help you learn more about crocodile stitch, in this blog we’ll walk you through an easy-to-follow tutorial.
What Do You Need to Know when working on the Crocodile Crochet Stitch
Before diving into the crocodile stitch, keep in mind the following:
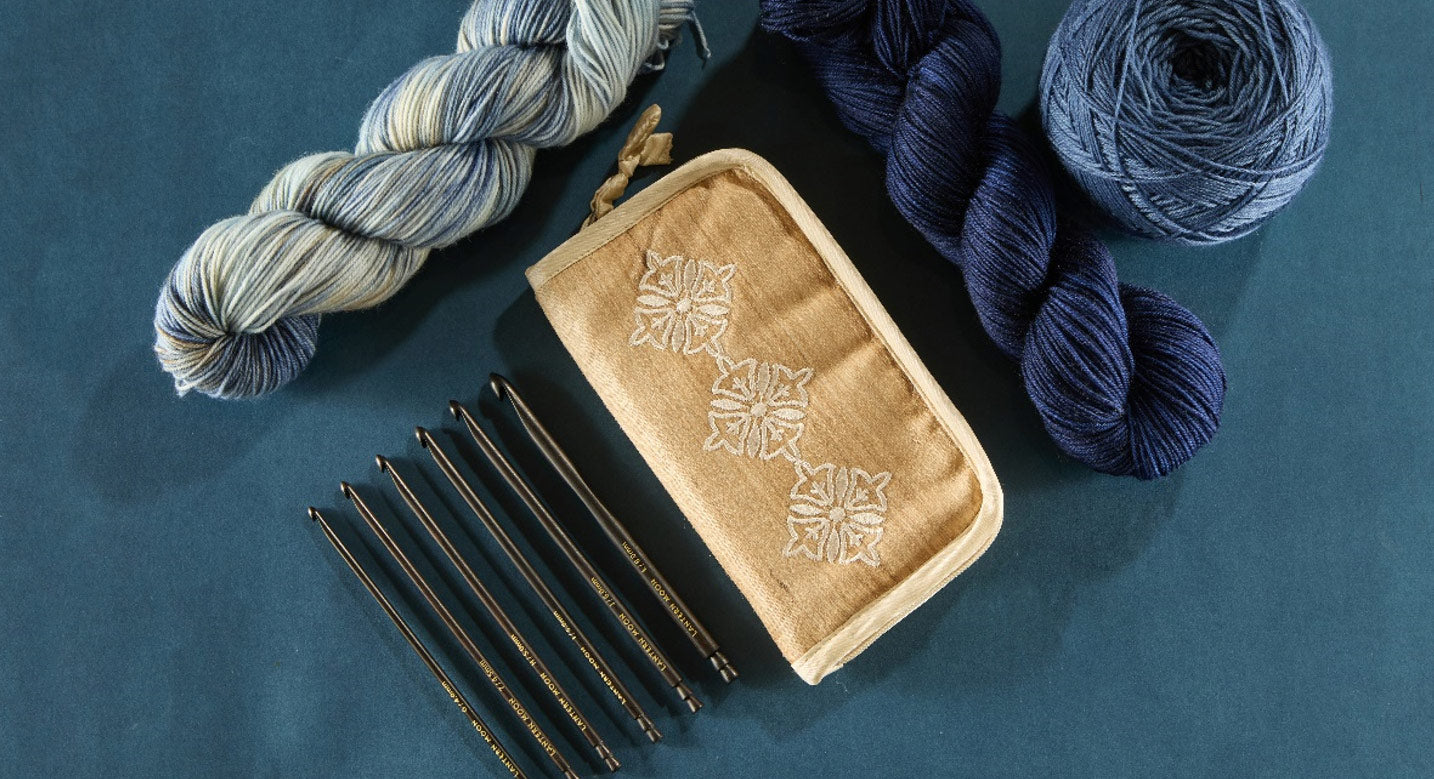
Crochet Hook: Choose a single-ended crochet hook in the size that matches the yarn weight. Wooden crochet hooks are preferred for their control over the yarn.
Yarn: You can use this stitch with almost any type of yarn. Just make sure to choose the hook size recommended for your yarn to ensure your stitches come out beautifully.
Terminology: This tutorial uses US crochet terms and demonstrates the right-handed method. Left-handed crocheters should work in the opposite direction across the rows.
Step-by-step guide for Crocodile Stitch (US crochet terms)
Step 1: Work the First Foundation Row
To begin, you’ll need to chain a multiple of 6 plus 3 extra chains. Refer to our beginner’s guide on how to start a crochet chain. For this tutorial, we'll start with 33 chains. The additional 3 chains will serve as the first double crochet in your row.
1. Double Crochet (DC) into the third chain from the hook.
2. Chain 2, then skip the next 2 chains.
3. Work 2 double crochets (DC) into the next chain.
Repeat the steps above until you reach the end of the row, finishing with a set of two double crochets. This initial row forms the foundation for your crocodile stitch scales, with each pair of double crochets creating the posts on which you’ll build the scales.
Step 2: Form the First Half of a Double Crochet Scale
Now, it’s time to create the scales that give the crocodile stitch its signature look.
1. Turn the foundation row so the top is on your right. Place a stitch marker here. The crochet accessory helps you remind to turn the project.
2. With your single-ended crochet hooks chain 3. These counts as your first double crochet.
3. Work four double crochet stitches around the first post of the foundation row.
At this point, you’ve completed half of your first scale.
Step 3: Finish the First Double Crochet Scale
To complete the scale:
1. Turn the foundation row so the top is now on your left.
2. Chain 1 for spacing.
3. Work 5 double crochet stitches around the second post of the foundation row.
Tip: Folding the first half of the scale back can make it easier to access the post as you work. Understanding crochet post stitches is essential here.
Step 4: Crochet More Scales
Continue forming scales along the row:
1. Make sure the foundation row so the top is on your right.
2. Chain 1, then skip the next set of posts, which may be partially covered by the first scale.
3. Work 5 double crochet stitches around the first post of the next set.
4. Chain 1, pivot the row again, and work 5 double crochet stitches around the second post.
Repeat this process across the row, creating scales on every other set of posts.
Step 5: Work Another Foundation Row followed by a row of scales
After completing the first row of scales, you'll need to set up for the next row of scales by working another foundation row.
1. Chain 3—this will count as your first double crochet.
2. Double crochet into the center of the last crocodile stitch scale from the previous row.
3. Chain 2. Next work 2 double crochets between the two scales, placing them between the double crochet posts from the first foundation row.
4. Chain 2, then double crochet into the center of the next scale.
Repeat this process to the end of the row.
Step 7: Repeat the Foundation and Scale Rows
To continue building your project, repeat the foundation and scale rows until your project reaches the desired length. This pattern technically consists of a four-row repeat, resulting in two rows of crocodile stitch. For added visual interest, you can switch colors after each set of foundation and scale rows. Our easy guide to changing colors when crocheting will help you work on a multi-color project.
Projects that Use the Crocodile Crochet Stitch

The crochet stitch is incredibly versatile and can be used in various projects. Start with a scarf home décor, hats or mermaid tail blanket to warm in the cold weather. The crochet stitch pattern can be paired in a knit sweater or socks. You can work the sleeves or the neckline or a little section of the project.
Whether you're creating a fantasy inspired accessory or adding texture to a home decor item, the crocodile stitch is a fun and rewarding technique to master. With smooth ebony wood crochet hooks from the Lantern Moon collection, explore the beautiful stitch pattern. If you are starting out follow our guide on what you should know before you begin crochet.